How to Achieve the Perfect Finish with Acrylic Render: Step-by-Step Guide
Transforming your Newcastle home’s exterior with acrylic render can deliver a stunning, modern finish that lasts for decades. Whether you’re updating an older property or adding the finishing touch to a new build, achieving that smooth acrylic render finish requires the right technique, preparation, and understanding of the process.
In this guide, we’ll walk you through the steps to get a professional-quality acrylic render finish that boosts your property’s value and protects it from Newcastle’s coastal weather conditions.
Why Choose Acrylic Render for Your Newcastle Home?
Before diving into the application process, it’s worth understanding the acrylic render benefits that make it such a popular choice for Newcastle properties.
Acrylic render offers superior flexibility compared to traditional cement render, which means it can handle the natural movement of your home’s exterior walls without cracking. This matters particularly in coastal areas where temperature swings between hot summer days and cool evenings can stress rigid finishes.
The waterproofing properties provide protection against moisture penetration, helping to prevent dampness issues common in our climate. Plus, it’s available in a wide range of colours and textures, allowing you to create exactly the look you want for your home.
Unlike cement-based renders that can fade and require frequent maintenance, a quality acrylic render finish will maintain its appearance for over two decades with minimal upkeep.

Step 1: Proper Surface Preparation
The foundation of any smooth acrylic render starts with thorough surface preparation. This step cannot be rushed, as it directly affects the final result.
Begin by cleaning the surface completely. Remove all dirt, dust, loose paint, and debris using a stiff brush or pressure washer. Any contaminants will prevent proper adhesion and can cause the render to fail prematurely.
Inspect the substrate carefully for cracks, holes, or damaged areas. Fill these with an appropriate filler and allow them to cure completely. The surface should be structurally sound before you begin applying acrylic render.
Check that existing painted surfaces are firmly bonded. If paint is flaking or peeling, remove it entirely. Acrylic render can be applied over sound painted surfaces, but only if the paint is well-adhered to the substrate.
For surfaces like fibre cement sheeting, blueboard cladding, or Hebel panels, make sure all joints are properly sealed and reinforced with mesh tape to prevent cracking along join lines.
Step 2: Apply a Quality Primer
A good primer improves adhesion and creates a consistent base for the render to bond to.
Select a primer that’s compatible with both your substrate and your acrylic render product. Different surfaces require different primers. Previously painted surfaces need a different primer than raw masonry, for example.
Apply the primer evenly using a roller or brush, making sure you cover everything. Pay special attention to highly porous areas that may absorb more primer. Allow the primer to dry completely according to the manufacturer’s specifications before proceeding, which typically takes 2-4 hours in Newcastle’s warmer months.
Step 3: Mixing Your Acrylic Render
Quality acrylic renders often come premixed, which eliminates the guesswork and keeps everything consistent. The product still needs proper preparation before applying acrylic render, though.
Give the render a thorough stir so the polymers and aggregates are evenly distributed throughout. You’ll notice the consistency becomes uniform as you mix, with no separation of materials at the bottom of the bucket.
Avoid adding water unless specifically directed by the manufacturer, as this can weaken the render’s properties and compromise the final finish. The consistency should allow for smooth trowel application without being too thick or runny.
Step 4: First Coat Application
Now comes the main part of applying acrylic render to achieve that perfect base layer.
Using a clean stainless steel trowel, scoop render onto your hawk and begin applying it to the wall in smooth, even strokes. Work in manageable sections, typically about one square metre at a time, to maintain a wet edge and avoid visible joins.
Apply the first coat at approximately 2-3mm thickness. This coat fills minor imperfections and creates a uniform surface for your final coat. The render should flow reasonably well under your trowel. You’ll feel when the thickness is right as it spreads evenly without dragging.
If you’re working on a large area, having a second person helps you maintain that wet edge, particularly on warm Newcastle days when the render can firm up quicker than expected.
Step 5: Creating Texture (Optional)
For those wanting a textured finish rather than a smooth acrylic render, now is the time to create it.
Once the first coat has started to firm up but is still workable (usually 15-30 minutes depending on conditions), use a damp sponge float in circular motions to create texture. This technique not only adds visual interest but also helps to compact the surface for added strength.
For a smoother finish, skip this step and proceed directly to the final coat once the base coat has cured.
Step 6: Final Coat Application
After your first coat has fully cured (typically 24 hours in moderate weather), you can apply the finishing coat.
This coat requires more attention to technique for achieving that flawless smooth acrylic render finish. Apply at 1-2mm thickness using long, confident trowel strokes in one direction. Think of it like icing a cake—steady pressure and fluid movements create the best result.
Work methodically across the surface, maintaining consistent pressure and angle with your trowel. Confident, flowing movements rather than short, choppy strokes that can leave trowel marks will give you a smooth finish.
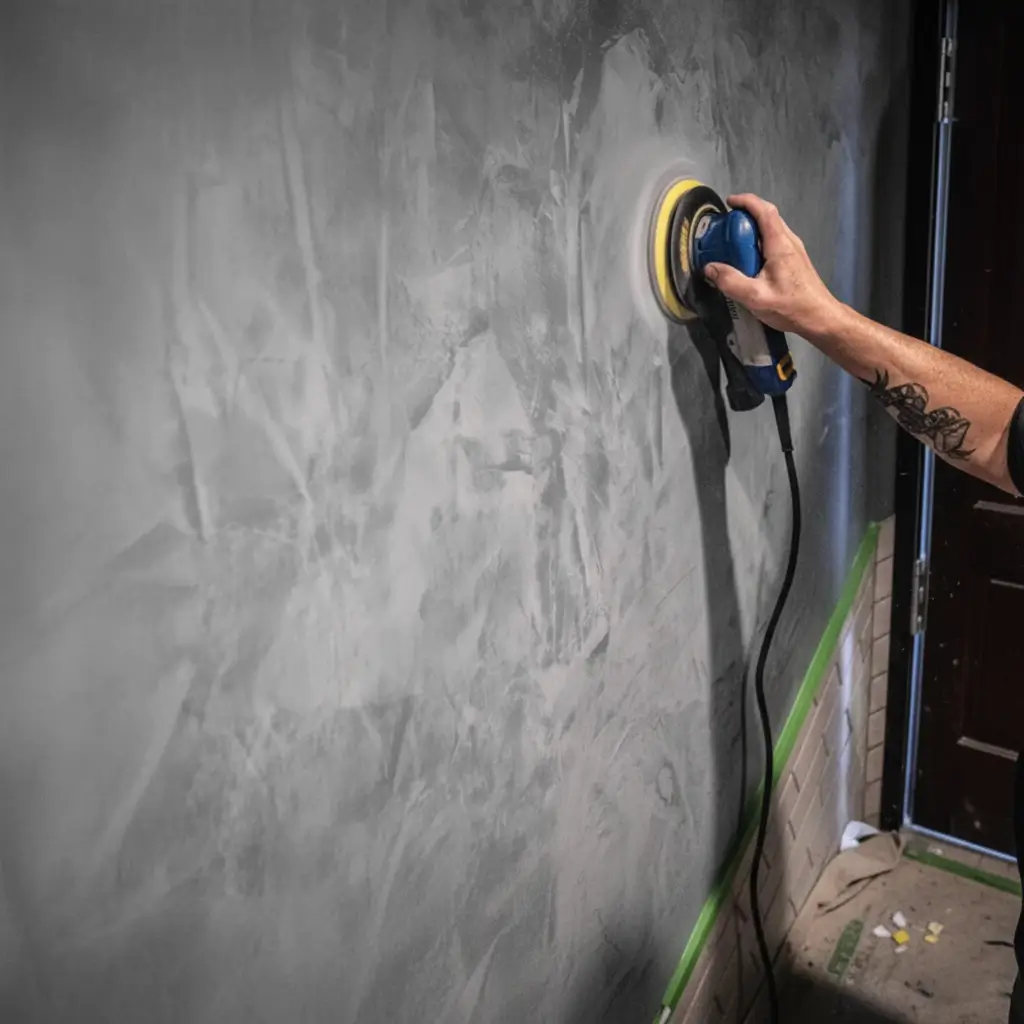
As the render begins to firm, you can ‘polish’ the surface by running your clean trowel over it with light pressure. This closes the surface and creates that sought-after smooth appearance.
Step 7: Curing and Protection
Proper curing matters for the long-term performance of your acrylic render finish.
Protect the freshly applied render from direct sunlight, rain, and strong winds during the curing process. In Newcastle’s summer heat, particularly during those 35-degree days, you may need to lightly mist the surface with water to prevent rapid drying, which can cause surface cracking.
Avoid touching or testing the hardness of the render during curing. Most acrylic renders will be touch-dry within 4-6 hours, but full cure takes several days.
Common Mistakes to Avoid
Even experienced DIYers can make errors when applying acrylic render. Here are the real pitfalls we see regularly.
Skipping the cleaning step because the wall ‘looks clean’ is surprisingly common. Even invisible dust and cobwebs prevent proper bonding. We’ve seen entire sections fail because someone missed this basic step.
Applying render in unsuitable weather compromises the finish. Working in direct sun above 30 degrees causes the surface to dry too quickly, leading to shrinkage cracks. Similarly, rendering when rain is forecast within 24 hours risks washout.
Over-working the surface is another frequent issue. Once you’ve applied and smoothed the render, leave it alone. Constantly going back over it disrupts the setting process and creates an uneven finish.
When to Call the Professionals
While applying acrylic render can be a DIY project for smaller areas like a feature wall or fence, larger jobs often benefit from professional expertise.
Two-storey homes require scaffolding and the experience to maintain consistency across large expanses. Working at height while managing render application is genuinely challenging, and achieving seamless results across an entire house exterior takes practice.
Complex surfaces with multiple corners, reveals, or architectural details also benefit from professional handling. Getting crisp, clean lines around windows and corners requires specific techniques that take time to master.
At Origen Projects, we’ve rendered everything from weatherboard cottages in Merewether to modern new builds in Waratah. If you’re considering a whole-house render or have a complex project, professional application means the finish matches your expectations.
Transform Your Newcastle Home Today
Achieving the perfect acrylic render finish requires attention to detail, quality materials, and proper technique at every stage. By following these steps and understanding the importance of each phase, you can create a stunning, durable exterior that boosts your property’s value and kerb appeal.

Ready to upgrade your Newcastle property with a premium acrylic rendering solution? Whether you’re tackling a DIY project or prefer professional results, our team at Origen Projects is here to help. Contact us today for expert advice, quality materials, or a free consultation on your acrylic rendering project.